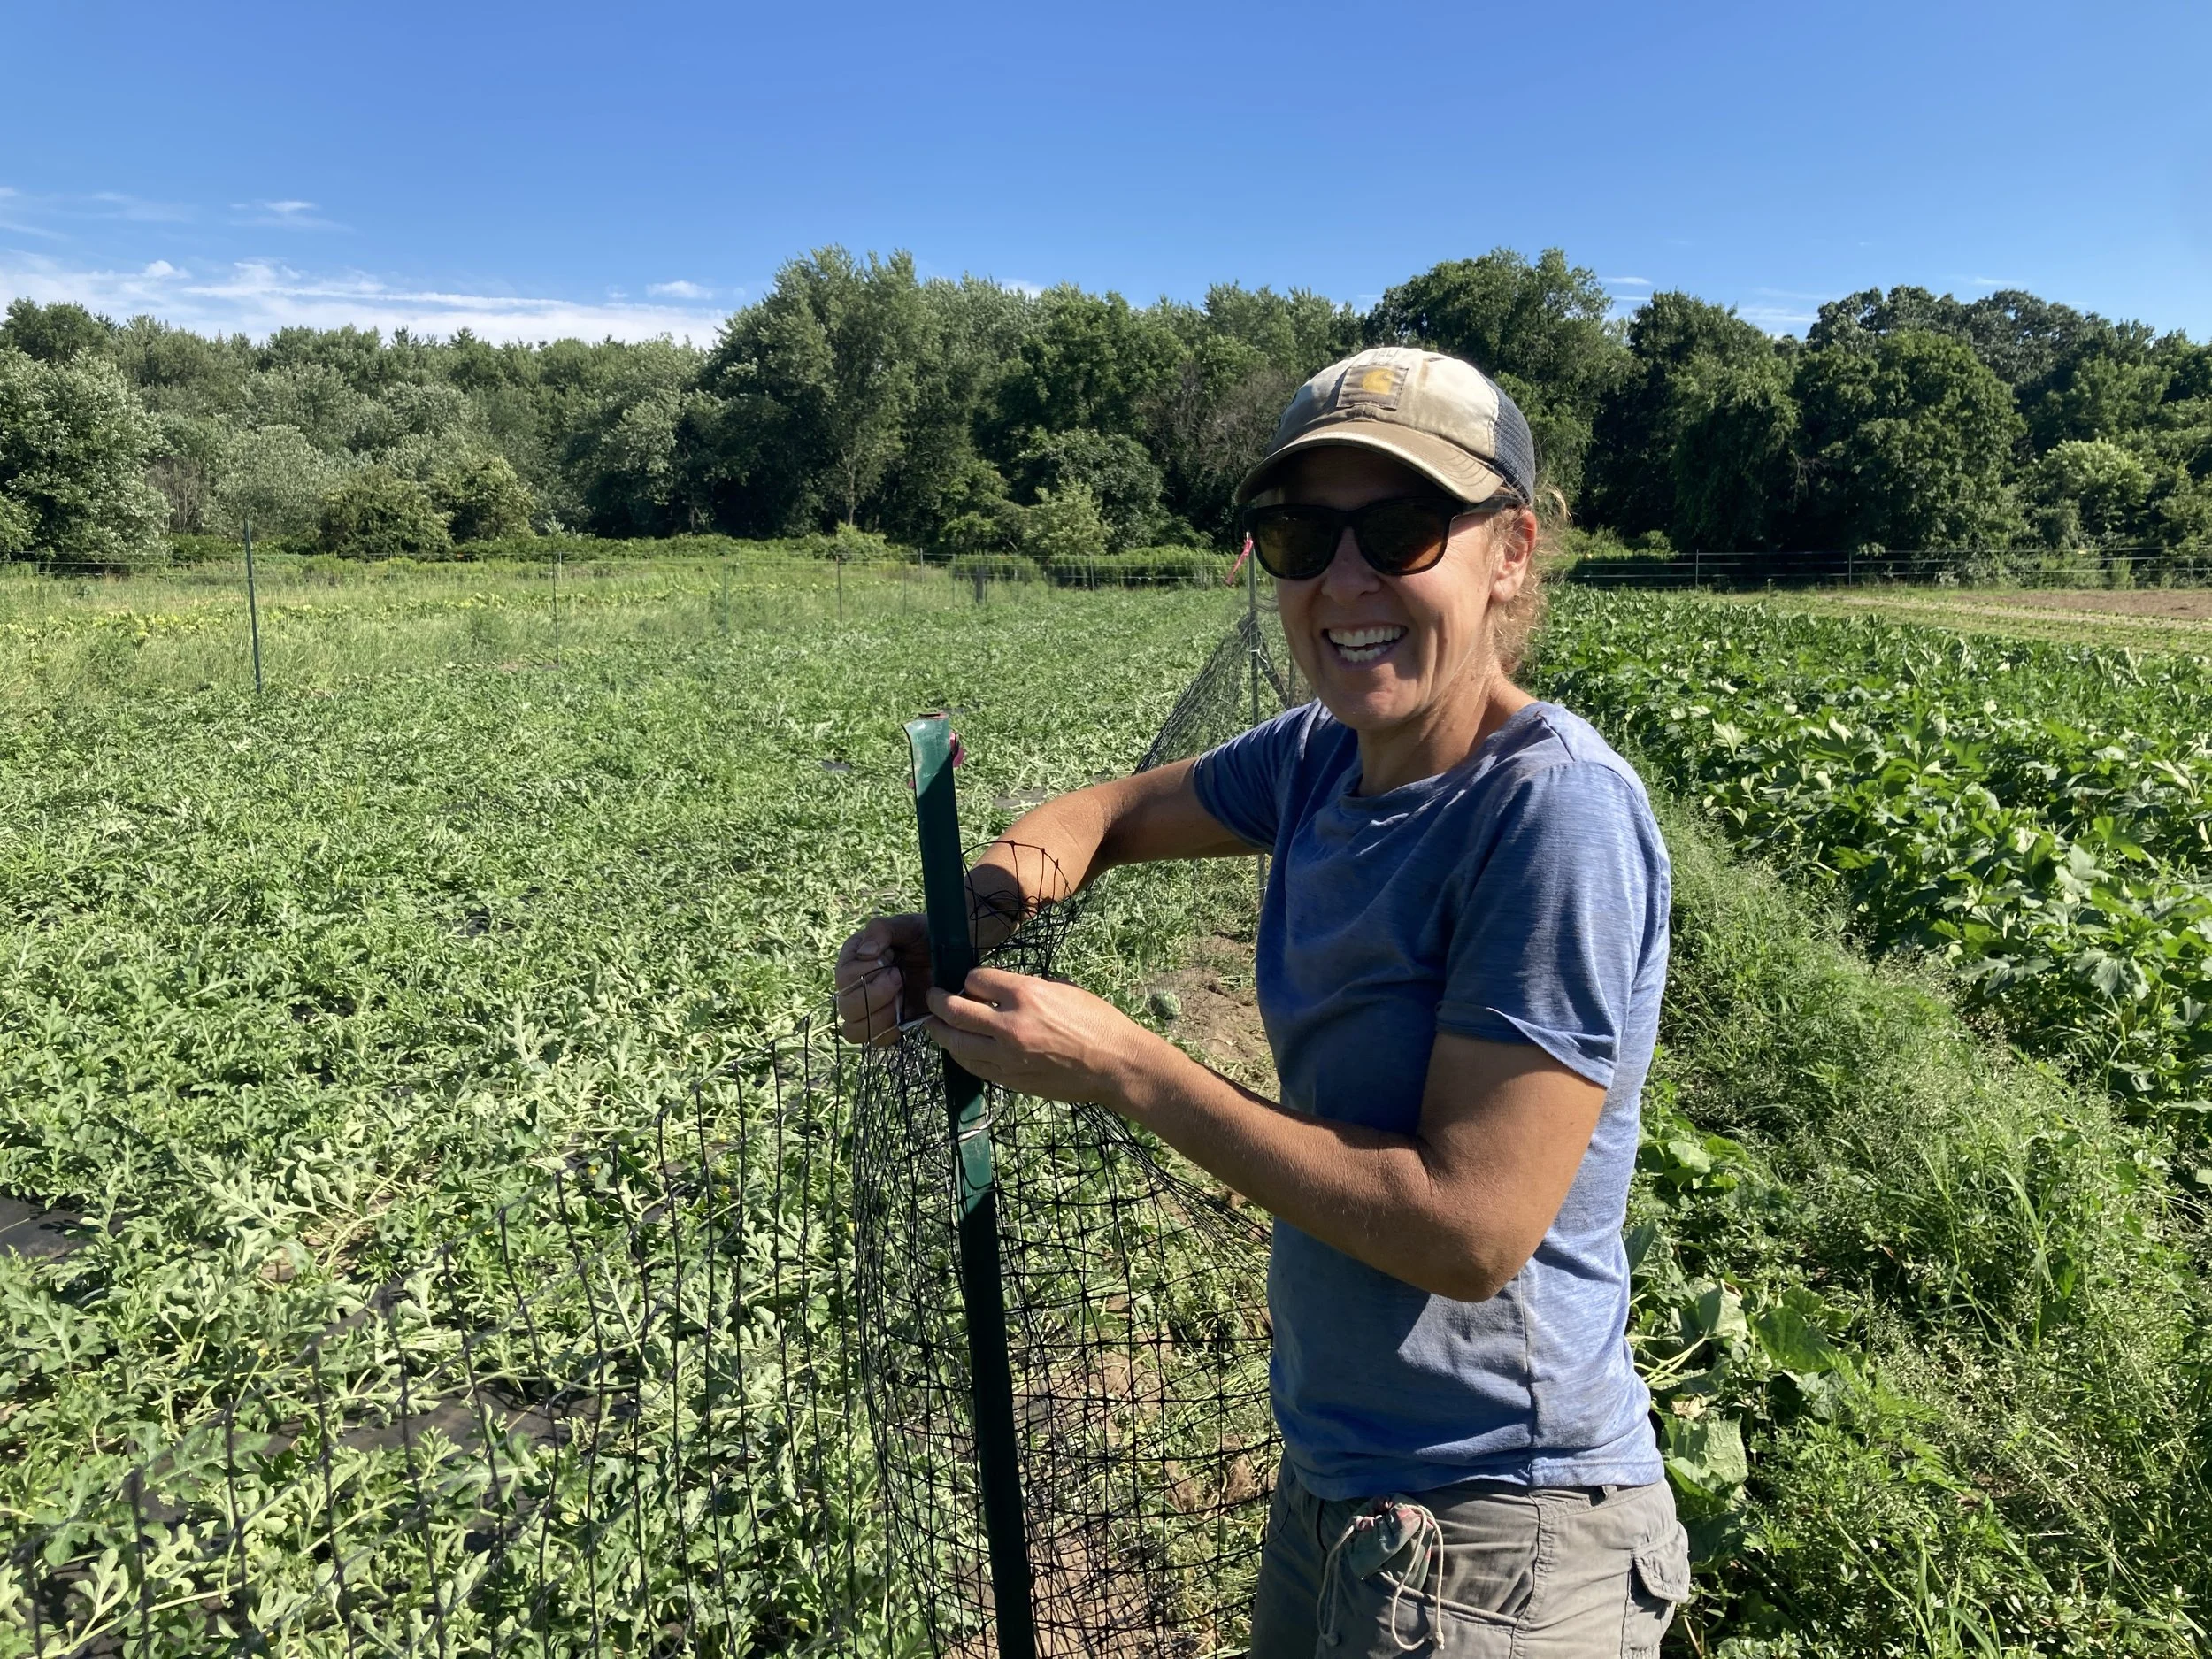
Last week it felt like all that we could accomplish was saving our crops from the constant assaults by the local wildlife. The deer have been going after their usual favorite snacks of lettuce, beans, carrot tops, beet tops, and sweet potato vines, but also for the first time our tomato plants! Our usual deer fence system no longer seems to work - at lunch time on Monday a buck and doe were hanging out inside the main fence and seemed completely unfazed by a loud tractor driven by an angry farmer! Fencing in smaller areas does seem to be more of a visual deterrent, but it is time consuming and challenging to work around with tractors. For the first time ever, we set up a small fence just around our field tomatoes and peppers last week.
We have also employed netting on top of lettuce and sweet potatoes for the past several seasons. This works fine for sweet potatoes because they are left in for the entire season are mulched for weed control, so the netting can stay on until harvest. Lettuce, however, is a different story. We plant new lettuce successions every week, weed and tractor cultivate most weeks, and harvest at least twice a week. This all means that we need to spend a lot of time setting up and removing netting.
The deer aren’t the only wildlife that are on our bad side, though! The local coyotes have developed a taste for watermelon, and so for the past 10 years or so we have set up a temporary Tenax fence to protect that precious commodity. Rabbits and chipmunks also love to nibble on the tomatoes in our high tunnel, but that seems like (hopefully!) a short-term problem, as the plants are growing quickly and the lower hanging that is within their reach fruit is getting picked out. Don’t get us started on insects like Colorado potato beetle, tomato hornworms, and aphids! It’s certainly a never-ending battle!
In spite of all this, we’ve got a great assortment of veggies this week, as well as PYO Flowers! PYO Flower CSA members got a chance to start picking over the weekend, but the PYO flower field is now open to the general public during regular farm store hours. Picking is $17/bouquet (bouquets are picked into a wide-mouth quart jar). Jars are available in the farmstand for purchase, or you may borrow a jar and return it after you have finished picking. The field looks amazing, but if PYO is not your thing, many days we have Catherine’s beautiful arrangements available in the farm stand.
In the CSA this week:
Garlic - Right now we are distributing uncured garlic. Because it hasn’t dried out yet from the curing process, the flavor is less concentrated and a little milder. We are also hanging a bunch of garlic in the farm stand to cure for a few weeks, and that garlic will be available in the fall.
Frisée - A slightly bitter leafy greens that can add a nice crunch to salads. It can also stand up to some wilting or sautéeing if you want to mellow the flavor.
Pepper - Green or purple bell peppers
Tomatoes - There will likely be a mixture of slicing tomatoes and heirloom tomatoes from our high tunnel.
Fresh onions - We grow a white variety (Ailsa Craig) and a red variety (Red Long of Tropea). These fresh onions are sweeter and milder than cured onions, and they should be kept in the fridge.
Carrots - Orange or purple will be available.
Zucchini
Summer squash
Cucumbers - Both thin-skinned cucumbers and pickling cucumbers. While our field cucumbers are starting to produce we are still feeling the effects of our loss of our high tunnel cucumbers so these will still be limited.
Cabbage - Caraflex (conical shape), and Green.
Kale
Lettuce
CSA Pick-Your-Own:
Sunflowers
Green beans or Dragon tongue beans - Dragon Tongue beans are a flat speckled bean that can be eaten fresh or sautéed. An new planting of green beans will be open this week, they are weedy but the beans are very nice!
Herbs: Members will have a choice of parsley, dill, dill flowers, sage, chives, thyme, mint and basil (Genovese and Thai).
Some herb harvesting information:
Parsley: Pick only outer stems and leave the center stalks to continue to grow.
Basil and Mint: please pinch the very tops of the plants. We need the mint to last all season (and hopefully for many seasons beyond!) so please use care and do not cut long stems.
Dill, Sage, and Thyme: harvest stems at branching points
Chives: cut stems high enough that a 3-4 inches of plant remain at the base, and do not cut all of the stems on a plant.
Please do not clear cut herb plants or harvest from beds that are not yet open.
In the farm store:
Farm store hours are Tuesday-Friday 11am-6pm and Saturday 9am-3pm. In addition to the items listed in the CSA, we will have:
Beets
Salanova (Tuesday)
Herb bunches
Flowers
Sweet corn from Verrill Farm (not organic) should be available by Wednesday afternoon.
Mushrooms from Fat Moon Farm - Certified organic
Double B Honey - From hives on the property! Not certified organic
Applesauce from Long Run Produce in Boxborough, MA. Certified Organic.
Baer’s Best Beans: 1 pound bags. Grown in South Berwick, Maine. Certified Organic varieties available include: Cannellini, Black Turtle, Italian Cranberry and Light Red Kidney. Not organic: bumblebee, marfax, and flageolet.
PYO Flower Field
Starting this week the flower field is open to both PYO Flower CSA members and the general public. Flowers available for picking this week include: zinnias, snapdragons, gomphrena, ageratum, celosia, ammi, rudbeckia, verbena, amaranth, cosmos, decorative grasses, decorative basil and strawflower.
Warm Frisée and Mushroom Salad
by Kylie Perrotti from Tried & True
Ingredients
2 tablespoons plant-based or dairy butter (plus more if needed)
1 pound mixed mushrooms (torn or sliced depending on the variety)
3 shallots (peeled and quartered lengthwise). Or use our Red Long onions!
2 tablespoons maple syrup
2 teaspoons Dijon mustard
2 teaspoons white wine vinegar
1 head of frisée (torn)
Salt and pepper to taste
Instructions
Cook the mushrooms:
Melt the butter in a wide pot or skillet over medium-high heat. Add half the mushrooms in an even layer and cook for 8–12 minutes until well-browned—season with salt and pepper and transfer to a bowl.
If the skillet is dry, add another tablespoon of butter. Once melted, add the remaining mushrooms and cook for 8–12 minutes. Season with salt and
pepper and transfer to the bowl of mushrooms.
Cook the shallot (or Red Long of Tropea Onion):
Add the shallot to the pot and cook for 3–4 minutes, stirring often. Next, add all mushrooms to the pot and cook for 1–2 minutes.
Prepare the sauce:
Whisk together the maple syrup, Dijon mustard, and white wine vinegar in a bowl.
Cook the frisée:
Turn the heat on the mushrooms to high. Pour in the sauce and bring to a boil. Reduce heat to low and add the torn frisée. Cook for 5 minutes until wilted—season to taste with salt and pepper. Turn off the heat.
To serve:
Serve with cooked rice or noodles or alongside your favorite meat or plant-based protein. Enjoy!
Zucchini Parmesan Crisps
from Smitten Kitchen
Ingredients:
Olive oil or cooking spray
2 medium zucchini (about 1 pound total)
1 to 2 egg whites
1/2 cup grated parmesan cheese
1/2 cup plain, dry breadcrumbs, such as panko
A couple pinches sea salt
Freshly ground black pepper
Preparation:
Heat oven to 450 degrees. Coat two baking sheets lightly with cooking spray or thinly with olive oil. Slice zucchini into slightly-less-than 1/4-inch thick rounds; if they feel especially wet, spread them on a towel while you prepare the other ingredients. In a small bowl, lightly beat first egg white with 1 teaspoon water to loosen it. Combine cheese, crumbs, salt and pepper in a separate bowl. Dip each zucchini coin in egg white, letting excess run off before gently dipping them in parmesan mixture. Arrange in single layer on baking sheets. If additional egg white is needed, prepare it the same way, with 1 teaspoon of water. If additional crumb mixture is needed, make a few spoonfuls at a time, matching the volume of crumbs and cheese.
Bake zucchini rounds until browned and crisp, about 25 to 30 minutes, flipping each over halfway through. Please keep an eye on them; they may need to be moved around on the tray so the ones at the edges don’t bake more quickly than the ones in the center. Take them out only when they’re golden all over and let them cool on the tray on a cooling rack or a plate.
Keep at room temperature until needed. Crisps are best on the first day.